Learn how to set up ClearView Flex for remote review sessions step by step. From system requirements to live streaming, this guide helps you get started fast — plus a helpful setup video walkthrough.
.png)
%20(63)%20(2).png)
What Is ClearView Flex and Why It’s Essential for Remote Collaboration
In the fast-evolving world of film, post-production, and creative media, teams often work from multiple locations. ClearView Flex makes real-time collaboration possible by allowing secure, ultra-low-latency streaming from your editing suite, sound mixing station, or colour grading system directly to your remote collaborators.
With sub-100ms latency, support for 2K video, surround sound, and enterprise-grade encryption, ClearView Flex ensures that feedback is instant — just like sitting together in the same studio.
🎥 Watch the official ClearView Flex demo video here:
▶️ ClearView Flex Setup & Overview (YouTube)
Step 1: Check Your System Requirements
Before setting up, make sure your hardware and internet environment can handle ClearView Flex streaming.
Device Compatibility
ClearView Flex supports a wide range of platforms, including:
- Mac & Windows desktops/laptops
- iOS and iPadOS devices
- Apple TV (tvOS app available)
- Web browsers (Chrome, Safari, Edge)
Viewers can join from virtually any modern device with an internet connection — no complex installation required.
Network & Bandwidth Recommendations
To ensure smooth playback and minimal delay:
- Minimum upload speed: 10 Mbps per stream
- Recommended: 20–25 Mbps for 2K DCI, 10-bit 4:2:2 streaming
- Stable wired connection (Ethernet) is strongly recommended for hosts
- Viewers: Should have at least 5 Mbps download bandwidth
💡 Tip: Avoid Wi-Fi for the streaming source if possible. Wired connections reduce packet loss and latency.
Step 2: Set Up Your ClearView Flex Box or Cloud Instance
You can run ClearView Flex either via a hardware FlexBox or a cloud-based deployment.
Connecting Your Source (Camera, Edit Suite, or Audio Rig)
- Plug your HDMI or SDI source (camera, output from your NLE, or sound console) into the FlexBox input.
- Ensure the input signal matches supported formats (up to 2K DCI resolution).
- Power on your FlexBox and connect it to your secure network.
Setting Up Cloud or On-Prem Deployment
If you’re using a cloud instance:
- Log in to your Sohonet account.
- Select ClearView Flex Cloud under Products.
- Choose AWS, Azure, or VMware as your deployment environment.
- Follow the on-screen instructions to link your source encoder.
🧠 Pro Tip: Cloud setups are ideal for distributed teams; on-prem setups offer lower latency for local facilities.
Step 3: Configure Your Session Settings
Once your FlexBox or cloud instance is running, you’ll configure your streaming session.
Choosing Your Streaming Resolution & Audio Options
- Select 2K DCI for high-end colour work or HD for lighter workflows.
- Choose between stereo or 5.1 surround audio channels.
- Ensure your colour space matches your project (Rec 709, P3-D65, or Rec 2020).
Security Settings: PINs, Access Control, and Encryption
ClearView Flex uses end-to-end encryption and session-level access codes.
You can:
- Generate unique PINs for each viewer.
- Lock sessions after all invited participants join.
- Enable optional watermarking to deter leaks.
Step 4: Invite Viewers and Collaborators
Inviting via Web Link or Code
- Open your Flex dashboard.
- Select Invite Participants.
- Copy the session link or access code and share it securely.
Managing Viewers and Permissions
- Assign roles (Presenter, Viewer).
- Limit or expand viewer count (depending on your plan).
- Enable or disable viewer mic access for feedback sessions.
This makes it easy to invite clients, producers, or other creatives for real-time review.
Step 5: Start Your First Live Review Session
Now comes the fun part — streaming your session live.
Real-Time Collaboration Tools
Once live, participants can:
- Use annotations to mark frames directly on-screen.
- Discuss feedback using integrated voice chat.
- Pause, rewind, or replay footage in sync with all viewers.
Troubleshooting Common Connection Issues
If you experience lag or dropouts:
- Check network stability (prefer wired over Wi-Fi).
- Reduce output resolution slightly (e.g., 1080p).
- Restart the stream to resync timing and audio.
🎥 Still unsure? Watch the ClearView Flex Setup Video for a complete visual walkthrough.
Step 6: Best Practices for Smooth Review Sessions
Ensuring Audio-Video Sync
Use a stable frame rate (24 or 25 fps) and ensure your source’s frame rate matches the receiving playback environment.
Optimizing for HDR and Colour Accuracy
- Calibrate your display with professional tools.
- Use 10-bit or higher workflows for colour-sensitive projects.
- Stream with HDR enabled if you’re on the Glow plan.
Step 7: Recording and Reviewing Sessions
Recording Options
ClearView Flex allows you to record live sessions for future playback or documentation.
- Choose “Record Session” before starting.
- Files are stored securely and accessible in your dashboard.
Reviewing Notes and Feedback
Annotations and chat comments are saved automatically.
Export session notes as PDFs or CSVs to share with editors or supervisors.
Step 8: Maintenance, Updates, and Support
Software Updates and Firmware
Regularly update your FlexBox firmware or cloud version to access:
- Latest security patches
- Performance improvements
- New streaming features (HDR, 5.1 audio, etc.)
Accessing Sohonet Support
Visit help.sohonet.com for:
- Setup guides
- Troubleshooting articles
- 24/7 live chat with Sohonet engineers
FAQs About ClearView Flex Setup
Q1: Do I need special hardware to use ClearView Flex?
No. You can use a FlexBox for hardware-based streaming or cloud deployment via AWS/Azure.
Q2: How many viewers can join a ClearView Flex session?
Depending on your plan: Starter (20), Pro (30), or Glow (40 viewers).
Q3: Can I stream HDR content?
Yes — available on the Glow plan, which supports HDR and Rec 2020 colour spaces.
Q4: Does ClearView Flex work with Adobe Premiere or DaVinci Resolve?
Yes, you can stream your NLE output via HDMI/SDI from your workstation.
Q5: Where can I learn visually?
Watch the official setup video tutorial here:
➡️ ClearView Flex Setup & Overview (YouTube)
Conclusion: Master Remote Collaboration with ClearView Flex
Setting up ClearView Flex is easier than ever — and once configured, it revolutionizes how teams collaborate on creative projects.
From real-time streaming to secure remote sessions and HD/HDR video quality, this platform eliminates the barriers of distance and delays.
By following these steps — and watching the video linked above — your team will enjoy seamless, studio-quality collaboration anywhere in the world.

Get the latest news and updates from Sohonet in your inbox
More from the blog
View all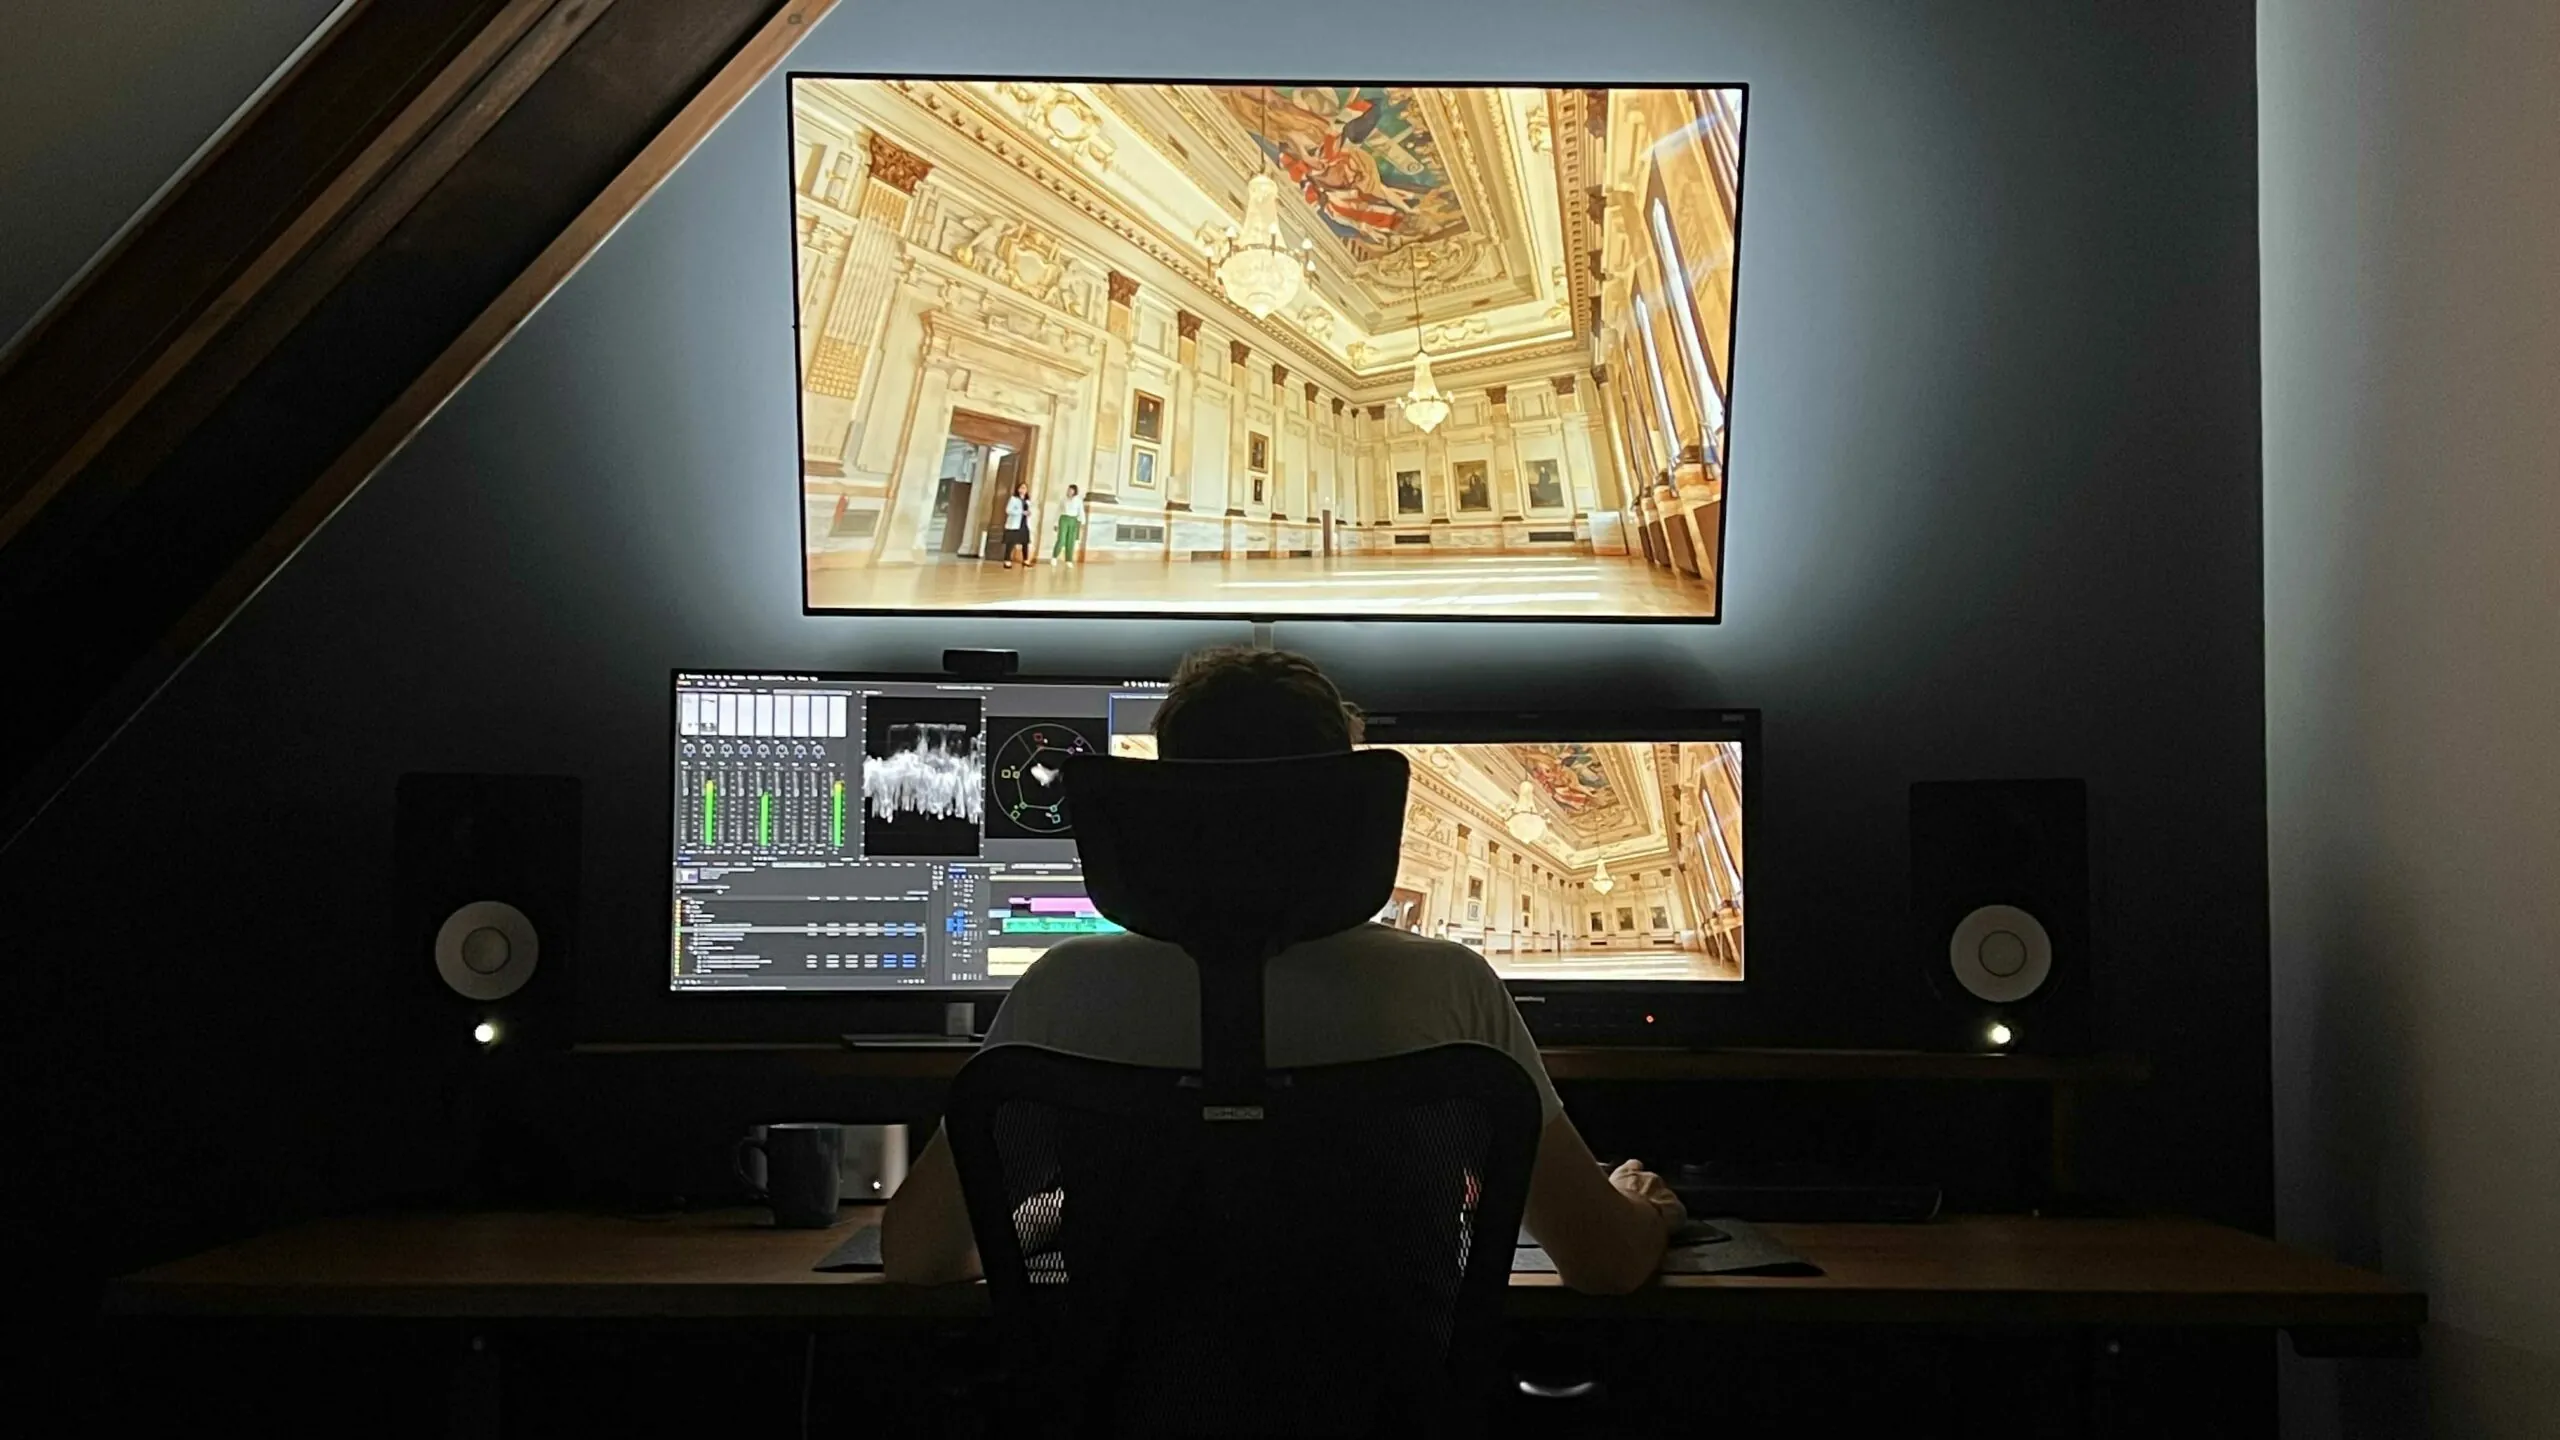
.webp)
.webp)